10 Tips for Capturing Great Natural Lighting in Film & Photo
By ERMW Team
Thursday, September 17, 2026
Shooting with natural light is often misunderstood as simply turning on the camera and letting the sun do the work. In reality, mastering natural light requires as much discipline, shaping, and planning as a multi-million dollar studio rig. The sun is a powerful, unpredictable single light source that moves constantly and changes color temperature by the minute.
Whether you are shooting a micro-budget indie or a massive location feature, here are 10 essential tips for harnessing, shaping, and capturing natural light.
1. Scout at the Exact Time of Your Shoot
Lighting drastically changes the geometry of a room or landscape depending on the time of day. If your call sheet says you are shooting a pivotal scene at 3:00 PM, scouting the location at 9:00 AM will give you false information about where the shadows will fall. Use sun-tracking apps like SunScout or Sun Surveyor to see exactly where the sun’s trajectory will intersect with your location.
2. Shoot on the Shadow Side
One of the fastest ways to achieve a cinematic look is to shoot into the "shadow side" of your subject. Position your subject so the primary natural light (like the sun or a bright window) is hitting the side of their face furthest from the camera. This creates depth, emphasizes facial contours, and separates the actor from the background, avoiding the flat, "video" look of front-lighting.
3. Chase the Golden Hour
Golden hour—the brief window shortly after sunrise and just before sunset—is legendary for a reason. The sun is low on the horizon, forcing its light to travel through more of the Earth's atmosphere. This acts as a massive natural diffuser, creating soft, warm, directional light with elongated, dramatic shadows. Schedule your wide exterior establishing shots and romantic close-ups for this narrow window.
4. Treat Windows as Softboxes
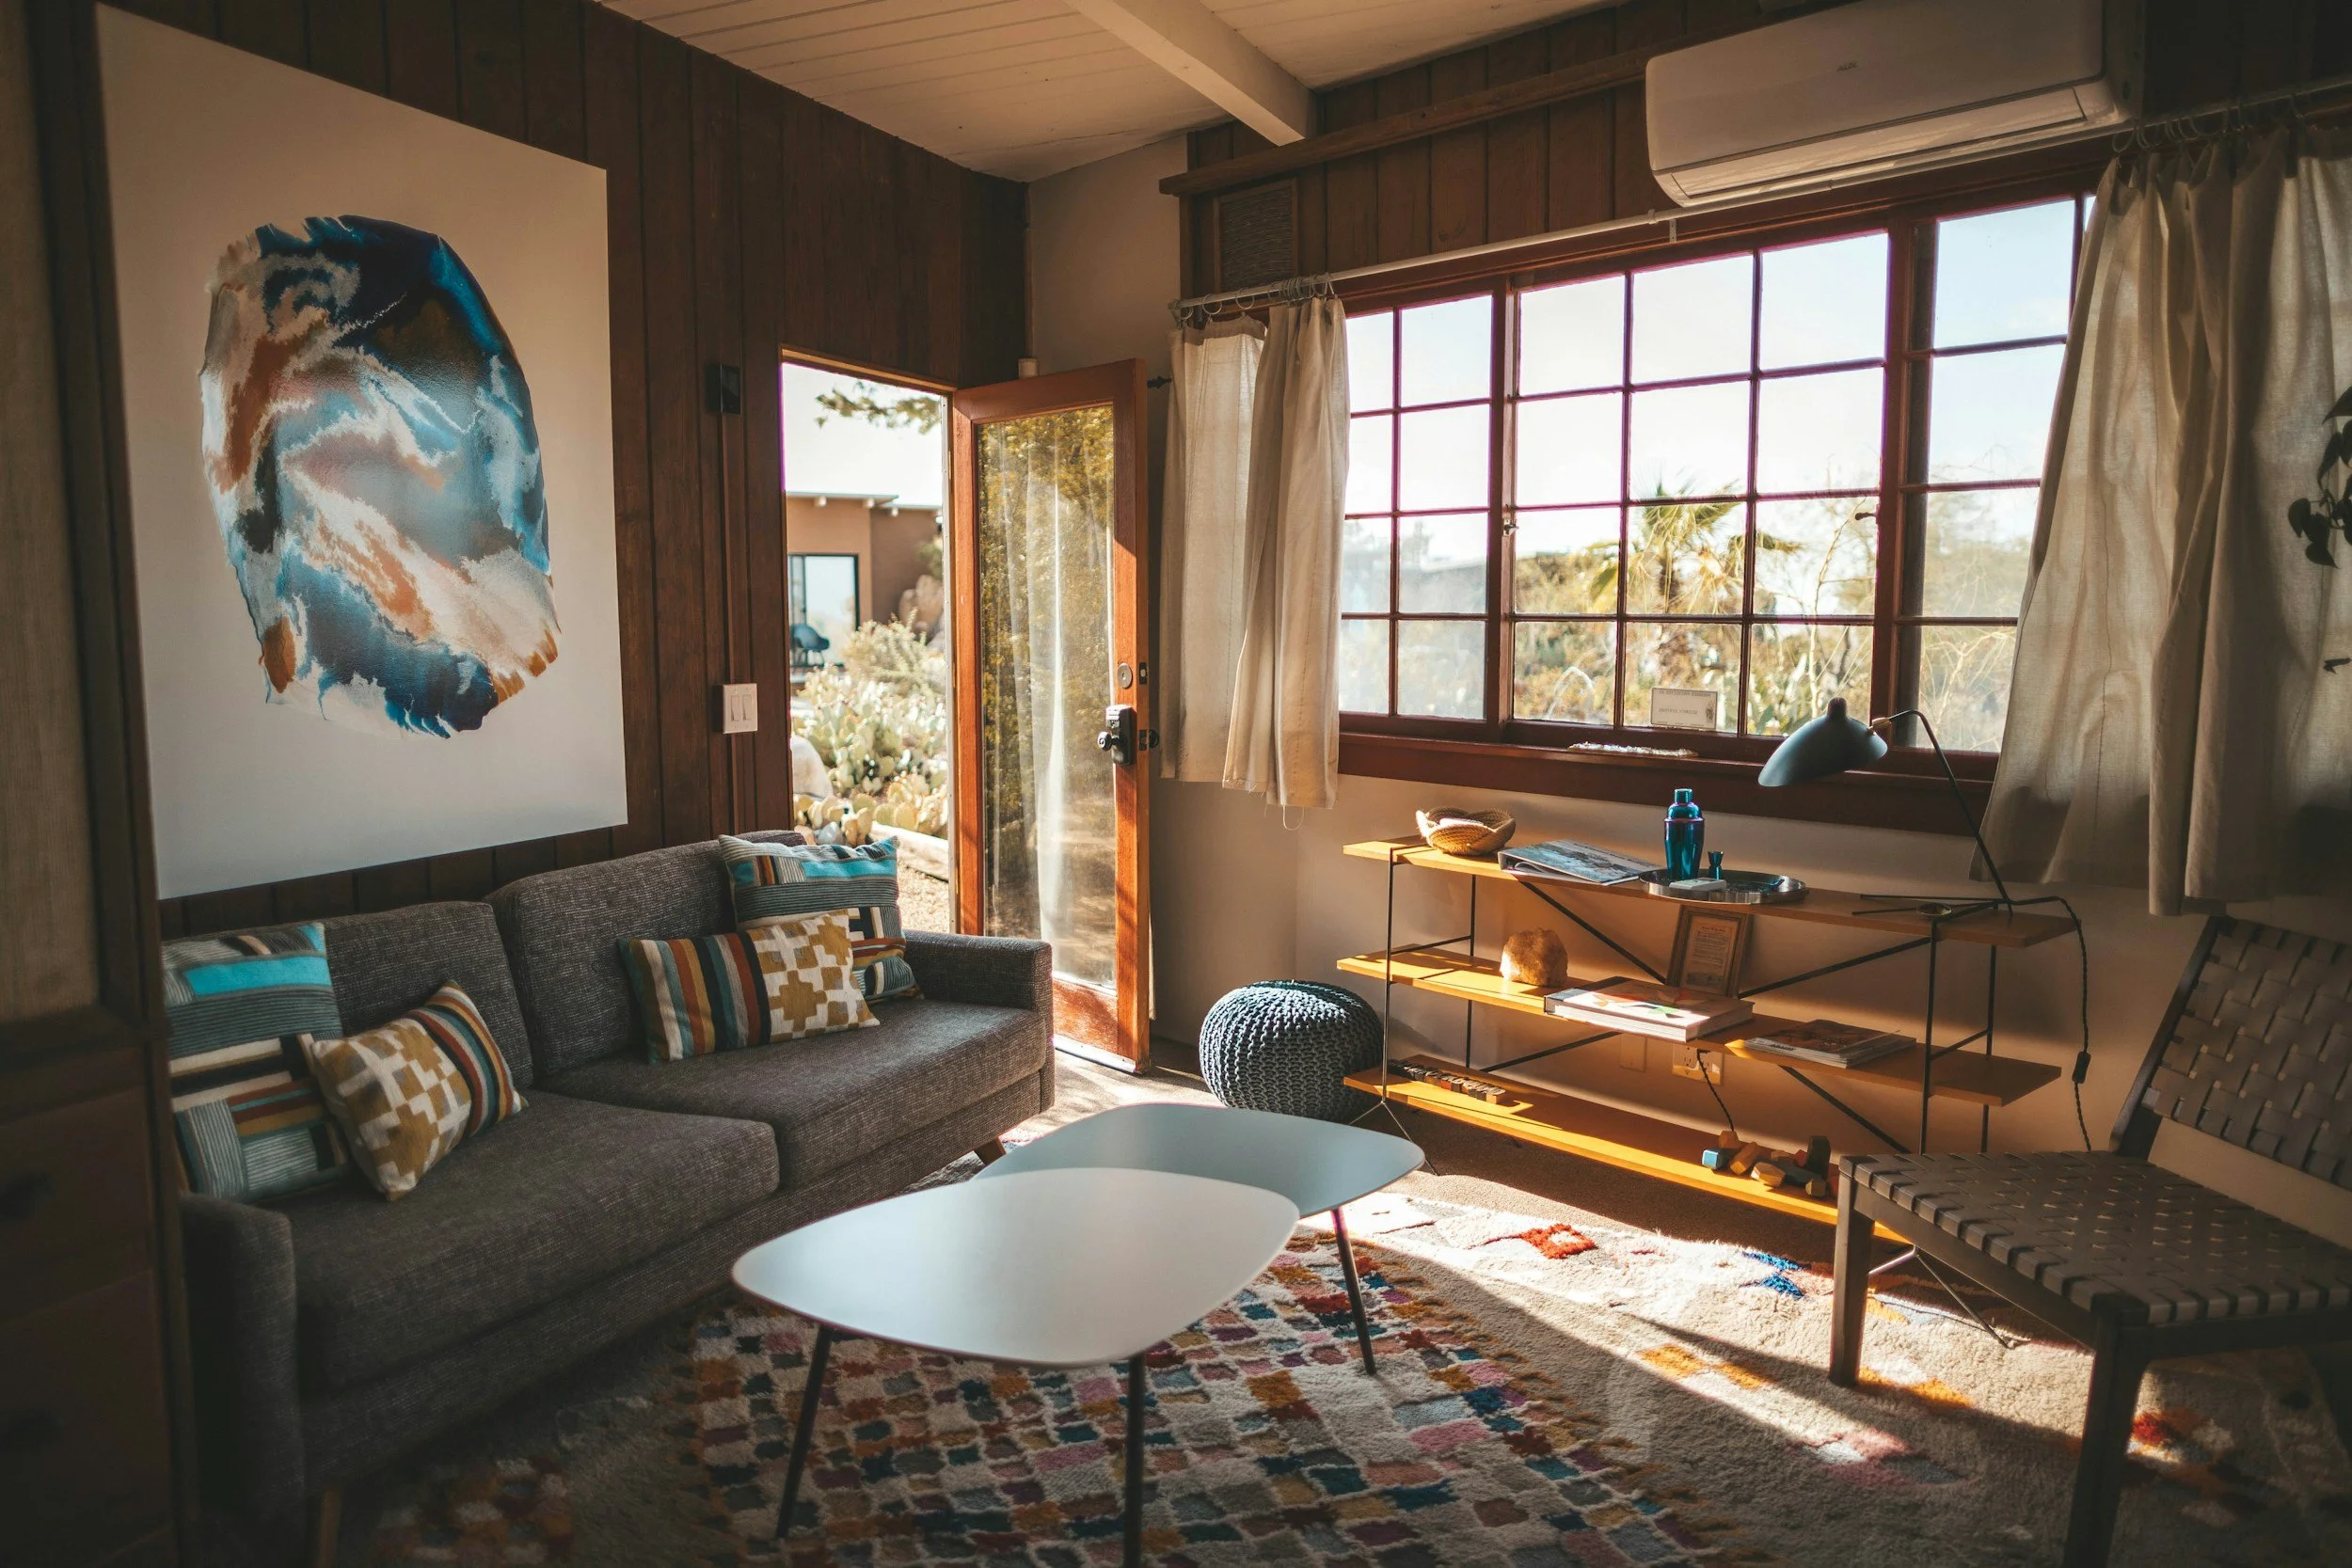
When shooting interiors, a window is your best friend—if you treat it right. By turning off all artificial overhead lights (which often have terrible color rendering and cast ugly top shadows), you can use a single window as a massive softbox.
If direct sunlight is blasting through the window and creating harsh lines, tape a layer of diffusion (like Lee 216 or even a frosted shower curtain) directly to the glass to soften the light wrapping around your subject.
5. Master the Bounce
Natural light rarely behaves perfectly on its own; it needs to be redirected. When your subject is backlit by the sun, their face will fall into deep shadow. Instead of blasting them with artificial fill lights, use a bounce board (a white foam core board or a collapsible 5-in-1 reflector).
Position the bounce board just out of frame to catch the sunlight and reflect it back onto the subject's face. The white side provides a soft, natural fill, while the silver side provides a punchier, cooler reflection.
6. Embrace Negative Fill
Sometimes natural light is too bouncy, especially on overcast days or in rooms with white walls where light scatters everywhere, flattening out your subject's features. Introduce "negative fill" by placing a large black flag or a piece of black fabric (duvetyne) just out of frame on the shadow side of your subject. This absorbs the bouncing light, deepening the shadows and restoring contrast and mood to the face.
7. Use the "Blue Hour" for Mood
Blue hour occurs just before sunrise and just after sunset, when the sun is below the horizon but the sky is still illuminated. This creates a soft, ambient, cool-toned light that has zero harsh shadows. It is incredibly brief (sometimes lasting only 15-20 minutes depending on your latitude) but is perfect for moody, melancholic, or suspenseful scenes. You will likely need to push your camera's ISO higher to capture it, so use fast lenses.
8. Diffuse Harsh Midday Sun
Shooting at high noon is generally considered a nightmare because the sun creates harsh "raccoon eyes" (deep shadows under the brow bone). If you must shoot at midday, fly a massive diffusion frame (like a silk) directly over your actors. This effectively turns the tiny, harsh point-source of the sun into a massive, flattering soft light overhead.
9. Match Color Temperatures
If you are combining natural window light with artificial lights inside a room, you must match their color temperatures, or the image will look muddy and amateurish. Daylight is typically around 5600K (blue/cool). If your interior practical lamps are 3200K (orange/warm), you need to make a choice: either swap the interior bulbs to daylight-balanced bulbs, or place Color Temperature Orange (CTO) gels over the windows to warm up the incoming daylight.
10. Expose for the Highlights
When shooting in natural light, digital camera sensors handle underexposure much better than overexposure. If you overexpose the sky or a bright window, the data is "clipped" and gone forever—it will just be a block of pure white. It is usually safer to expose for the highlights (ensuring the bright areas retain detail) and gently lift the shadows later in the color grade.