The Anatomy of a Compelling Documentary Interview
By ERMW Team
Thursday, April 9, 2026
In the landscape of non-fiction storytelling, the interview is more than just a source of information—it is the emotional engine of your film. A "talking head" can either be a static disruption or a captivating window into a human soul.
At ERMW, we believe that the difference between a standard interview and a masterpiece lies in the intersection of technical discipline and psychological intuition. This deep dive explores the layered "anatomy" required to conduct interviews that don't just tell a story, but feel like an experience.
1. The Technical Architecture: Creating a Visual Narrative
Technical setup is the silent language of your film. Before a word is spoken, your lighting, framing, and composition are already telling the audience how to feel about the subject.
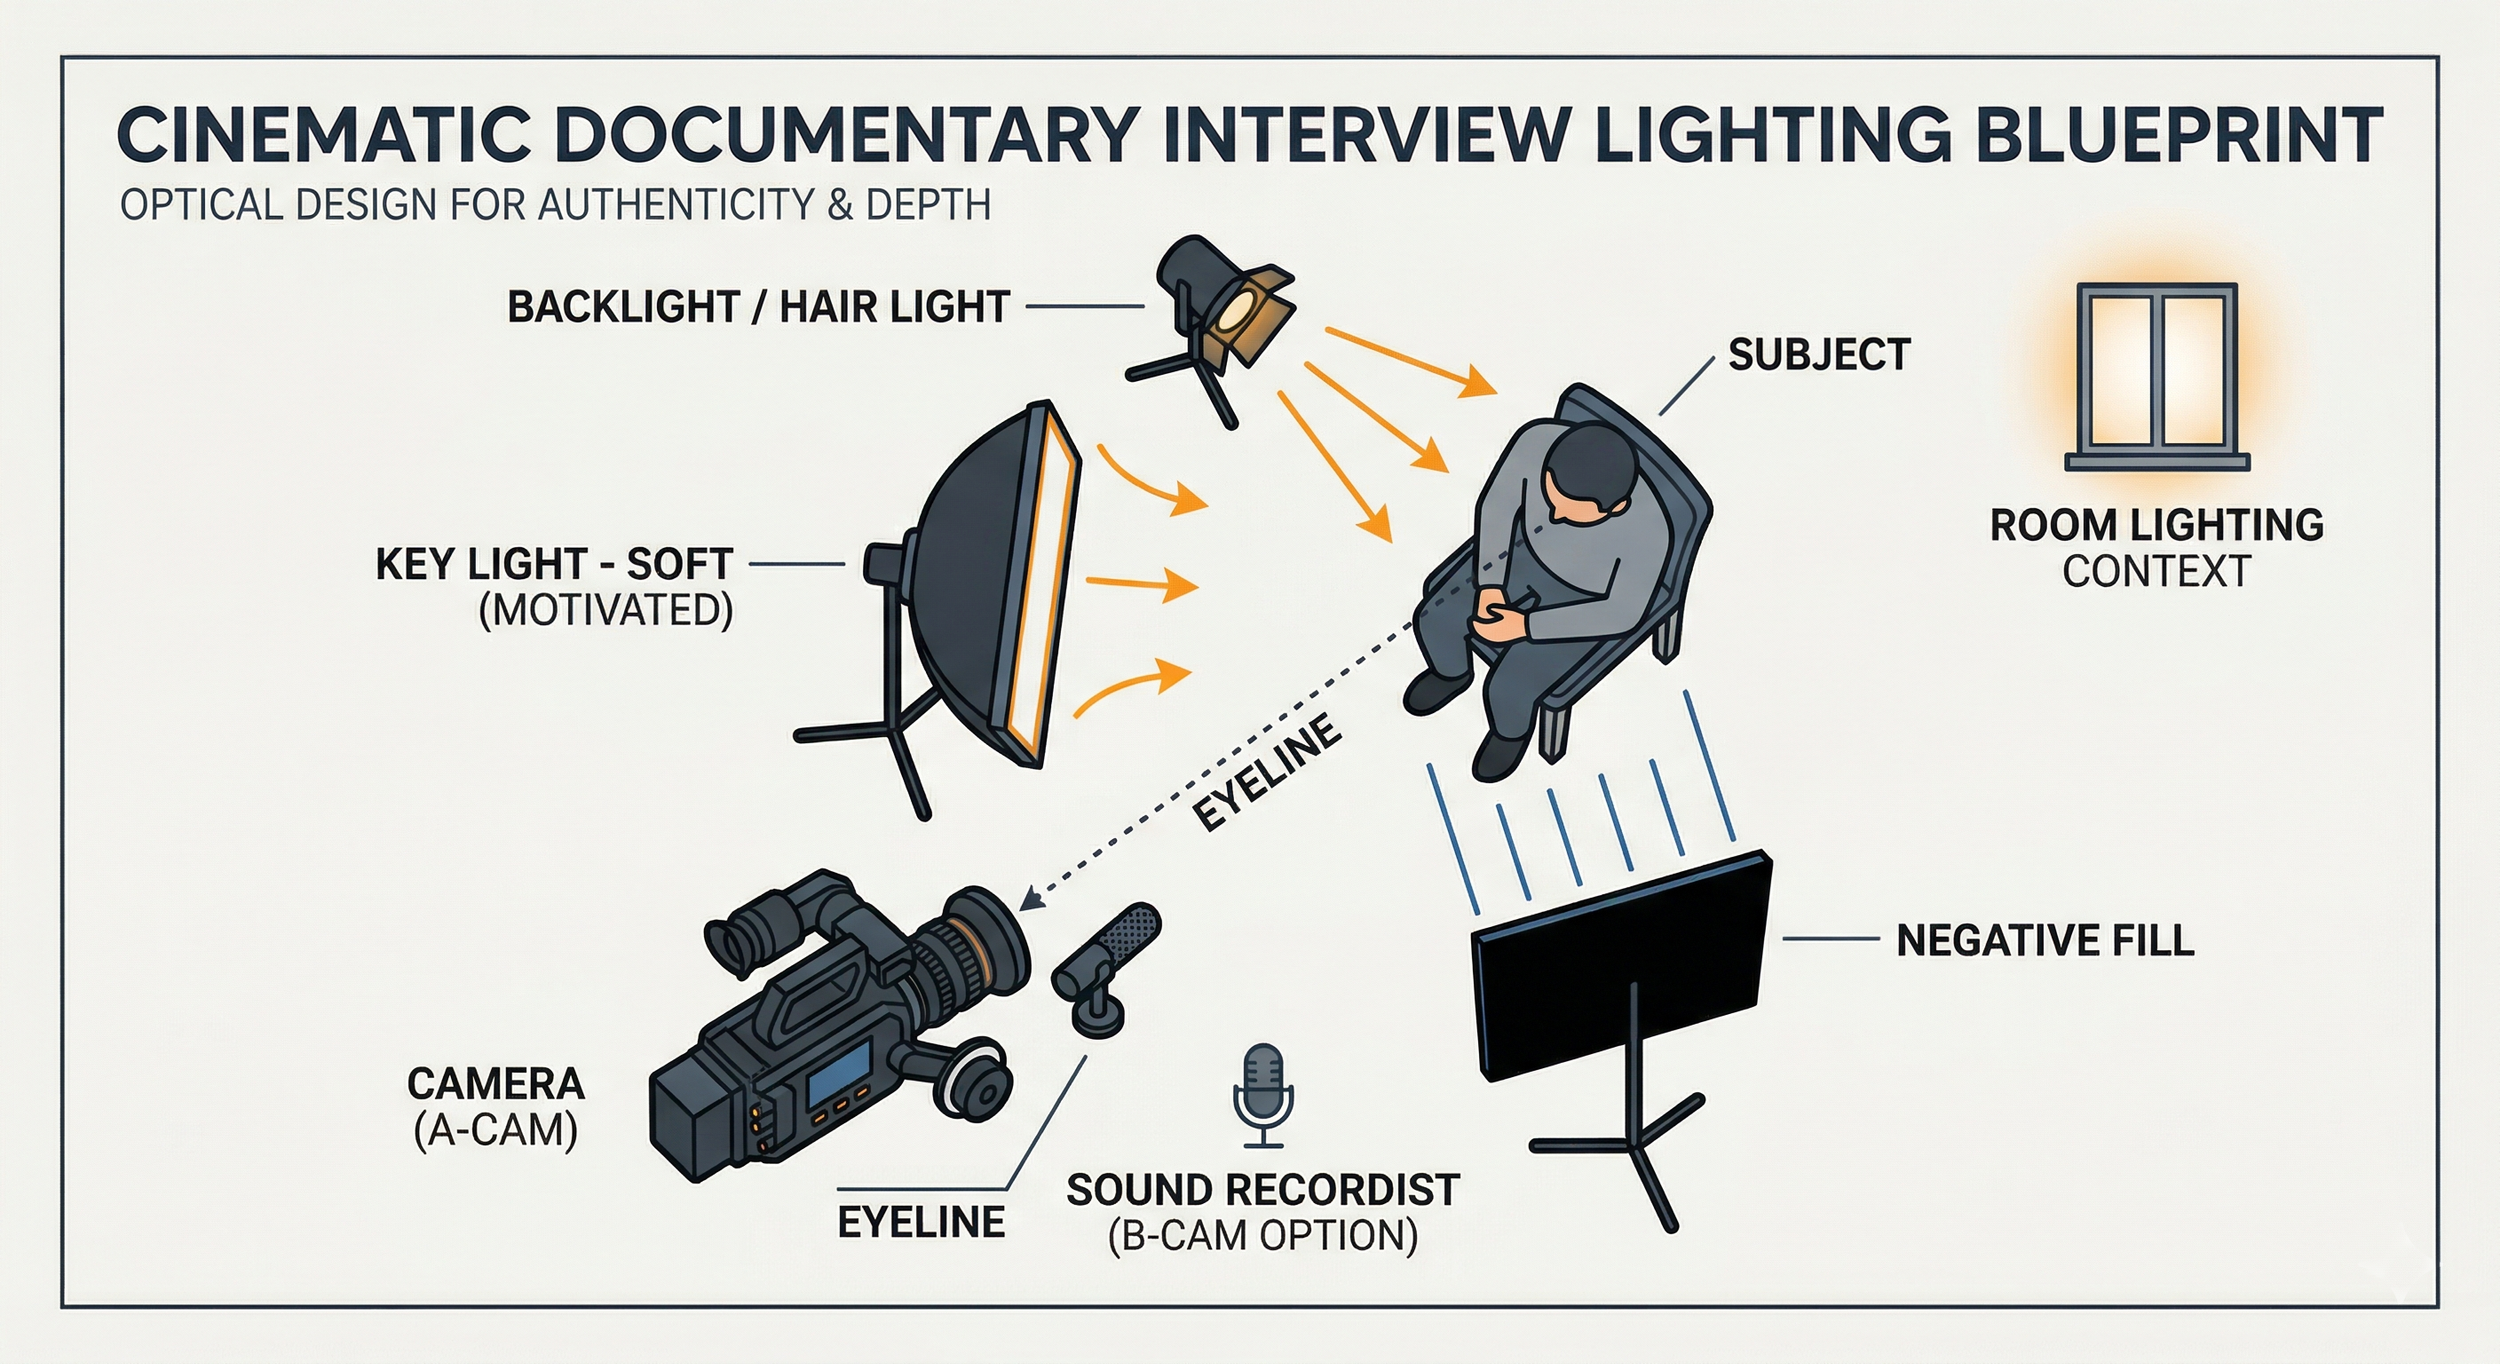
Lighting for Subtext
While the "Three-Point Lighting" setup is the industry standard, documentary work often requires Motivated Lighting. This means your light sources should feel like they belong in the environment (e.g., mimicking a nearby window or a desk lamp).
The Key Light: Use a large softbox or "diffusion" to wrap light around the face. This softens skin tones and creates a more inviting, "honest" look.
Negative Fill: To add drama and "shape" to a face, place a black flag on the side opposite your key light. This prevents light from bouncing back, creating deep, cinematic shadows that suggest complexity.
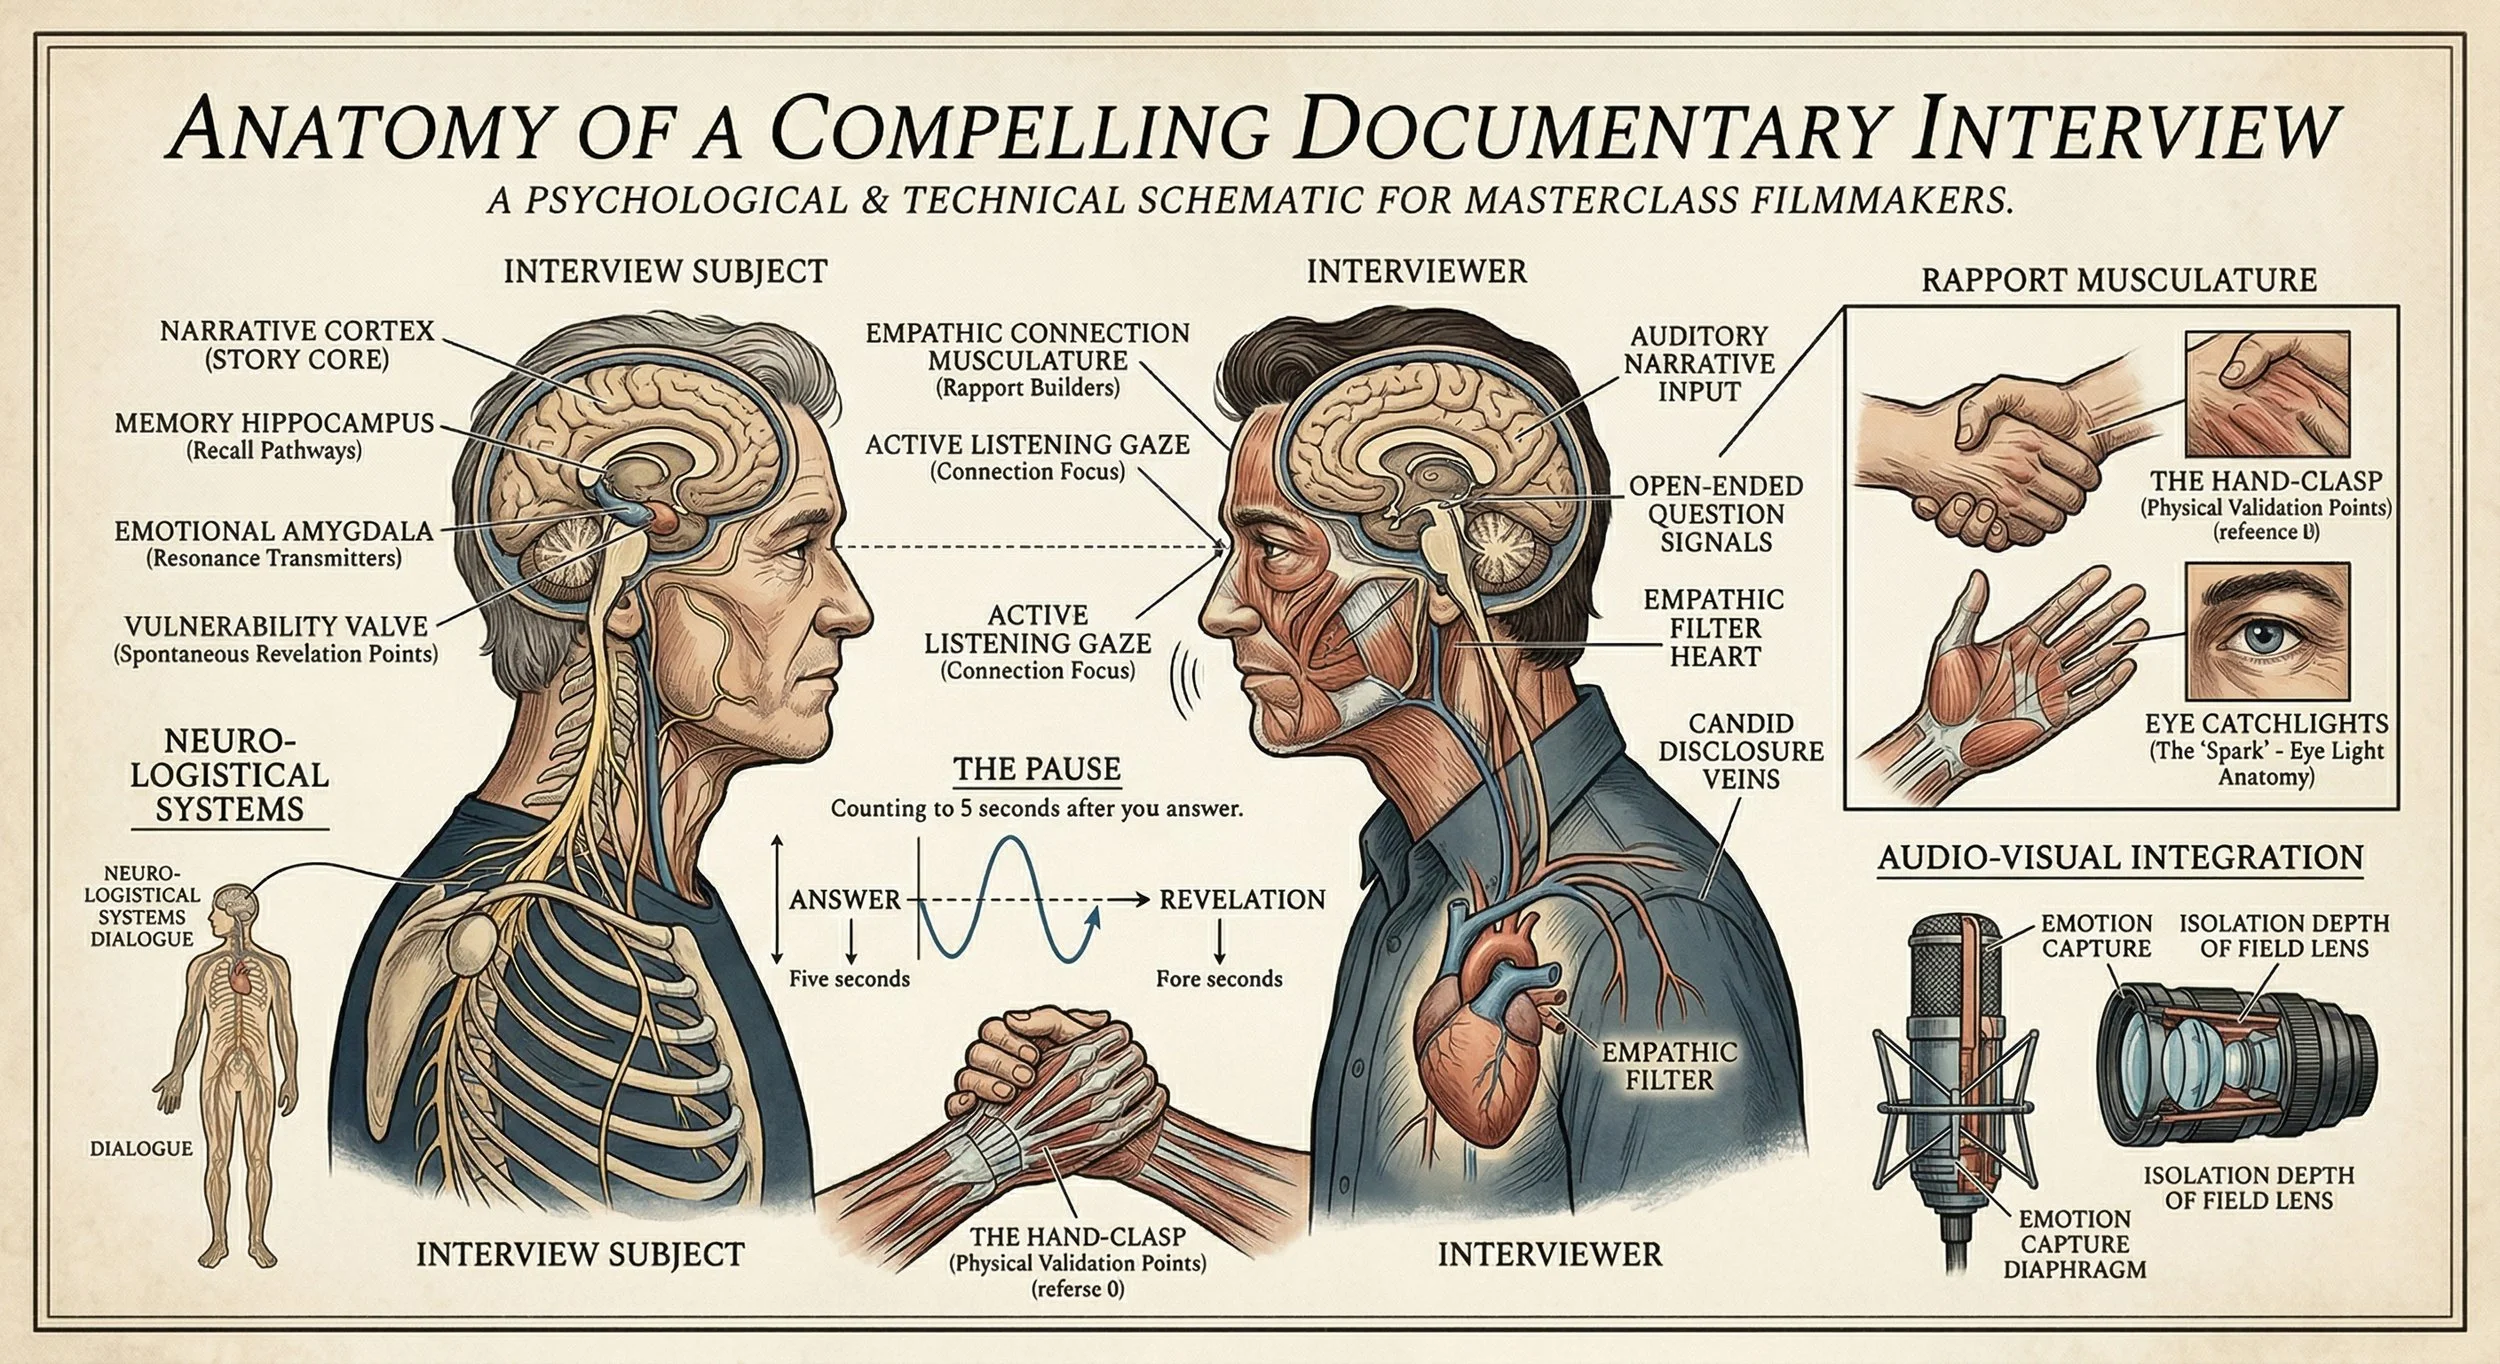
Eye Lights (The "Spark"): Ensure there is a small reflection in the subject’s pupils. This is called a "catchlight." Without it, the eyes look "dead" or flat on camera. The eyes are where the audience looks for truth—make sure they are lit.
The Psychology of Framing
Lens Choice: A 50mm or 85mm prime lens is often preferred for interviews. These focal lengths mimic the human eye’s perspective and provide a shallow depth of field, beautifully separating the subject from the background.
Headroom and Lead Room: Give your subject "nose room" (space in the direction they are facing). Cramped framing can subconsciously make the audience feel claustrophobic or untrusting of the subject.
2. The Interpersonal Craft: The Psychological "Safe House"
A camera is an intrusive object. It creates a power imbalance. To get an authentic interview, you must dismantle that barrier through "Active Presence."
The Pre-Interview Protocol
The biggest mistake is "rehearsing." If a subject tells you their most emotional story in the coffee shop before the shoot, they will likely give you a "polished" (and less authentic) version once the red light is on.
The "Soft" Start: Spend the first 15 minutes talking about the weather, the drive, or their hobbies while the crew adjusts lights. This desensitizes them to the equipment.
The "Power" Shift: Explicitly tell the subject: "You are the expert here. If I ask a dumb question, tell me. If you want to stop and restart a sentence, just do it." This gives them a sense of control.
The Art of the Question
Avoid "Yes/No" questions at all costs. Instead of asking "Were you sad?", ask "What did that sadness feel like in your body?"
The "Why" vs. the "How": "Why" can sometimes make a subject feel defensive, as if they have to justify their actions. "How" (e.g., "How did you manage to get through that?") invites a narrative journey.
The Echo Technique: If a subject says something profound but brief, simply repeat their last three words back to them as a question.
Subject: "I just felt like it was the end."
Interviewer: "The end?"
Subject: "Yeah, because..." (This usually triggers a deeper explanation).
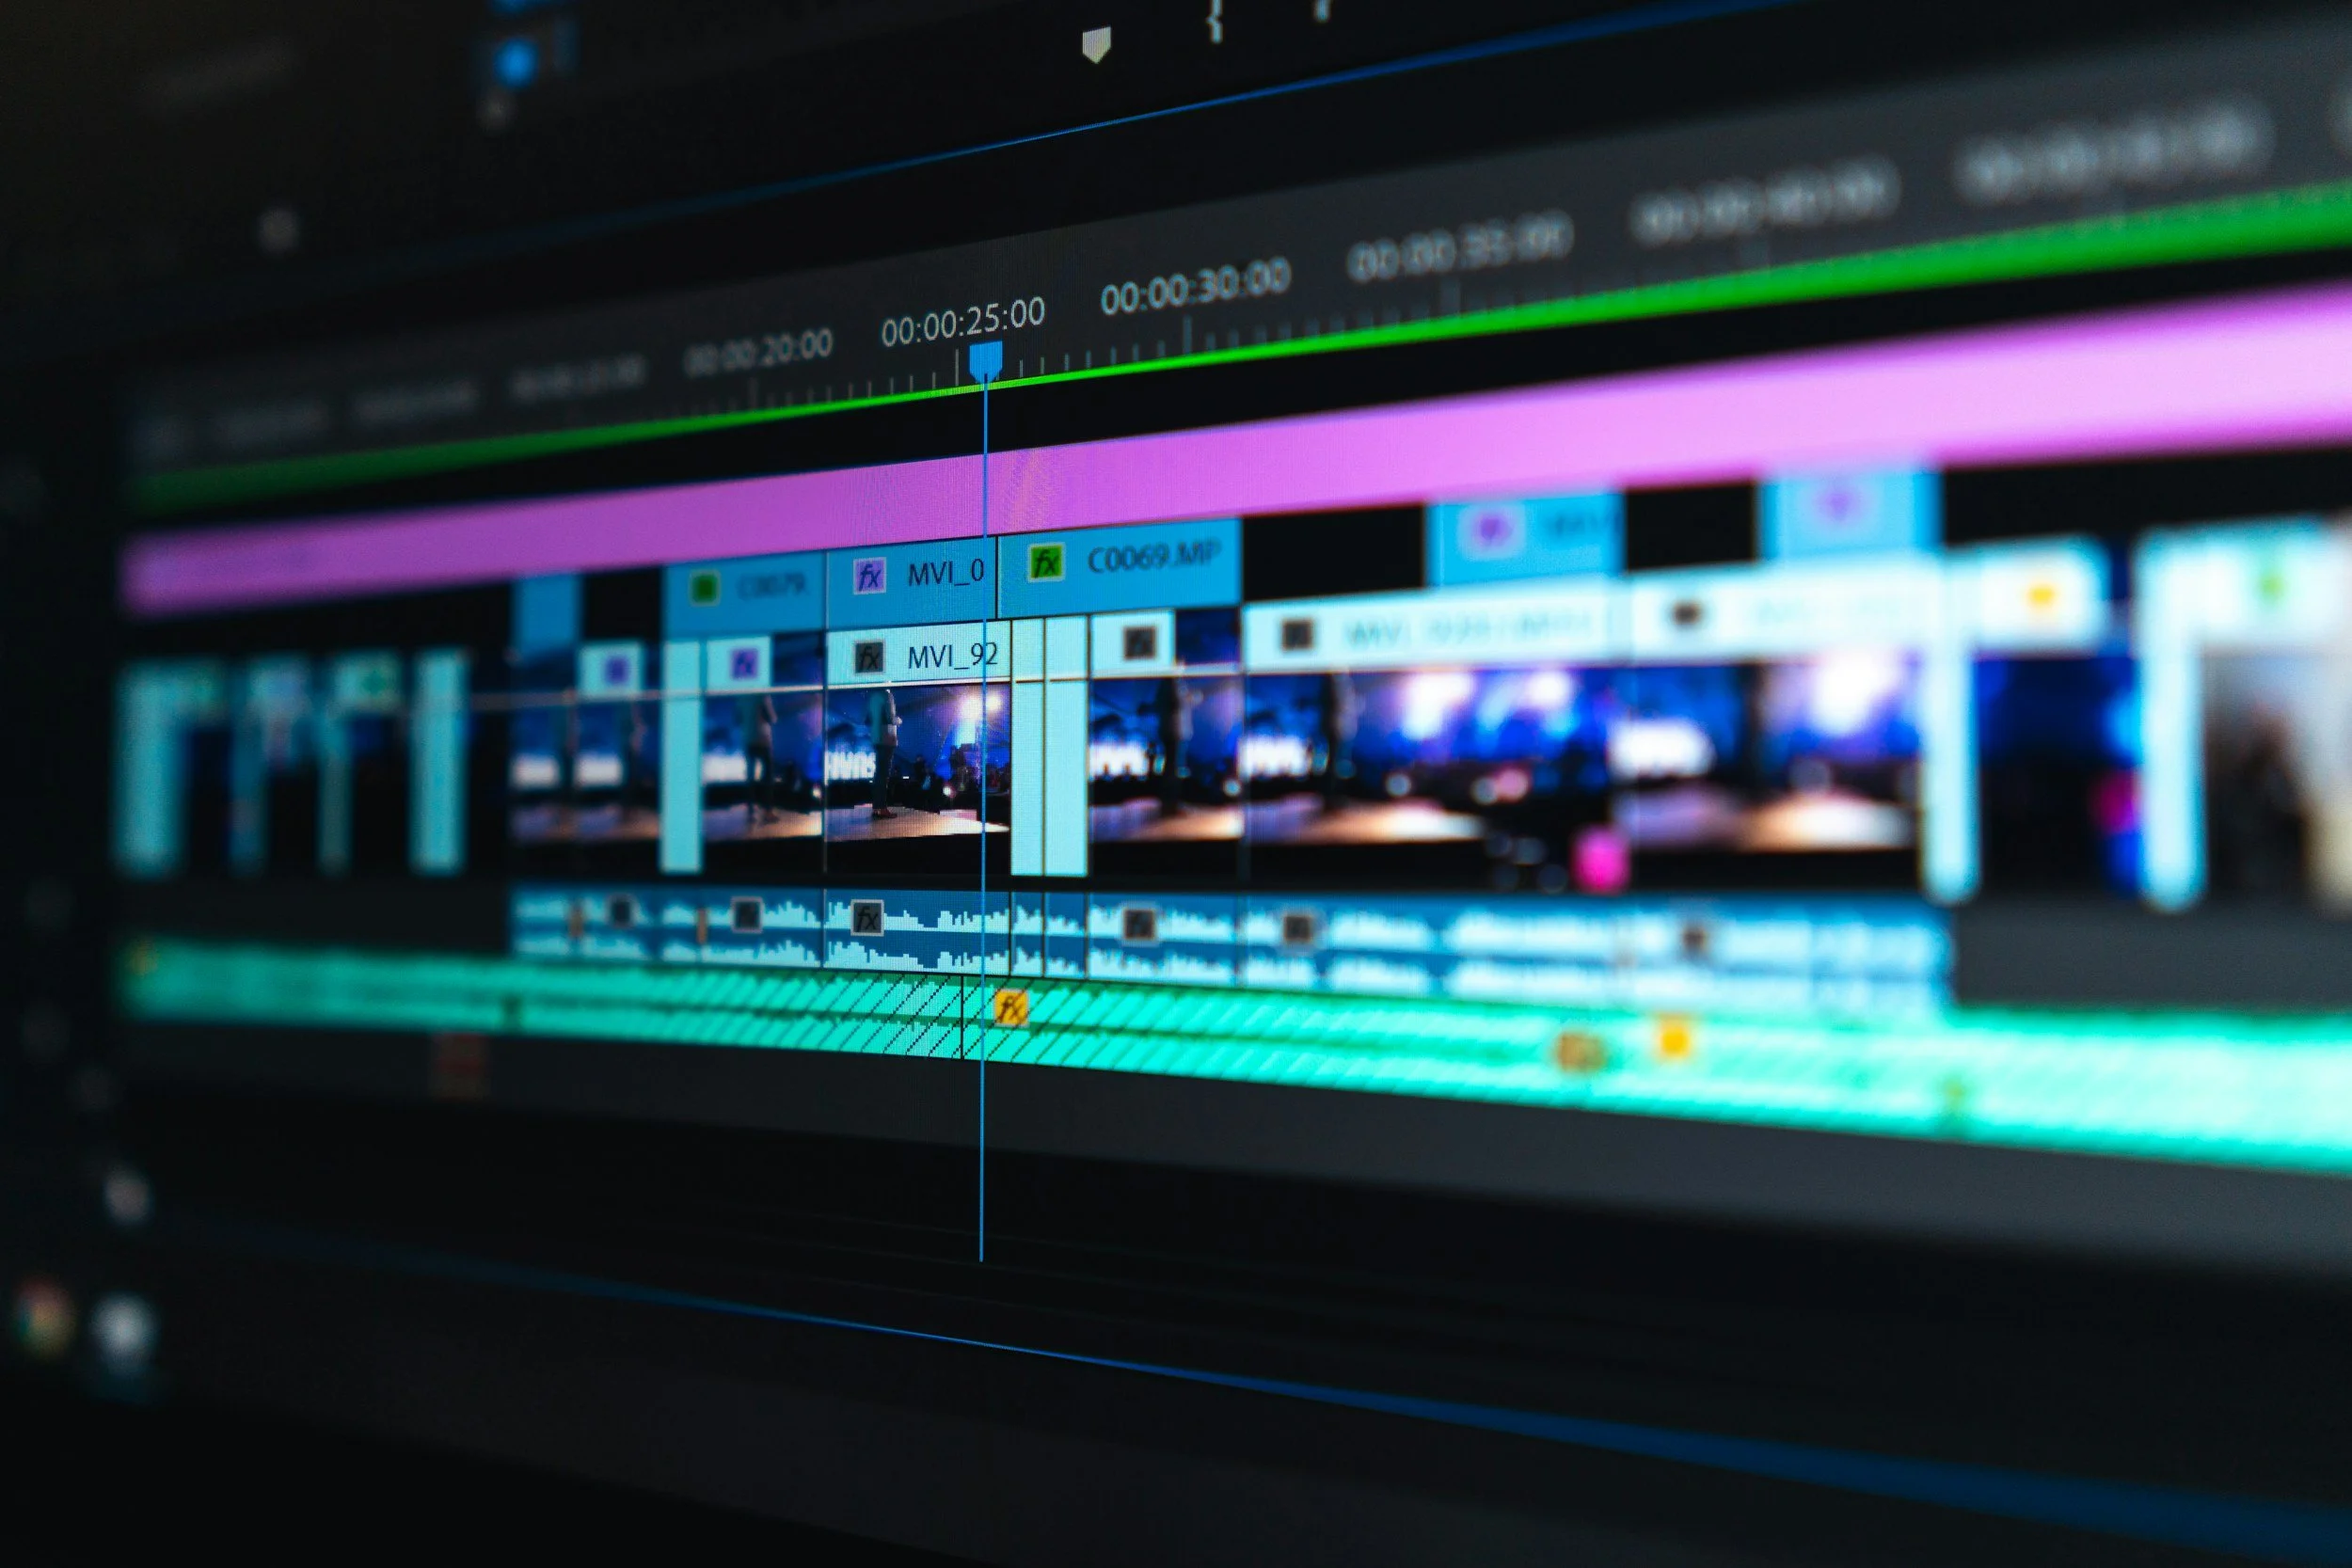
3. The "Golden Silence" and The Edit
In the edit suite, the most valuable frames are often the ones where nobody is talking.
The 5-Second Rule: When a subject finishes a thought, do not jump in. Maintain eye contact and count to five. Often, the subject will reflect on what they just said and add a "button"—a final, heartfelt realization that becomes the perfect ending for a scene.
Non-Verbal Reactions: As the interviewer, you must be a "silent cheerleader." Nod, smile, and use your eyes to encourage them, but never make a sound. A "Wow" or "Mhm" from the interviewer can ruin a perfect audio clip that the editor needs to be clean.
Room Tone: Never forget to record 60 seconds of "silence" in the room after the interview. This "room tone" is essential for the editor to patch audio gaps seamlessly.
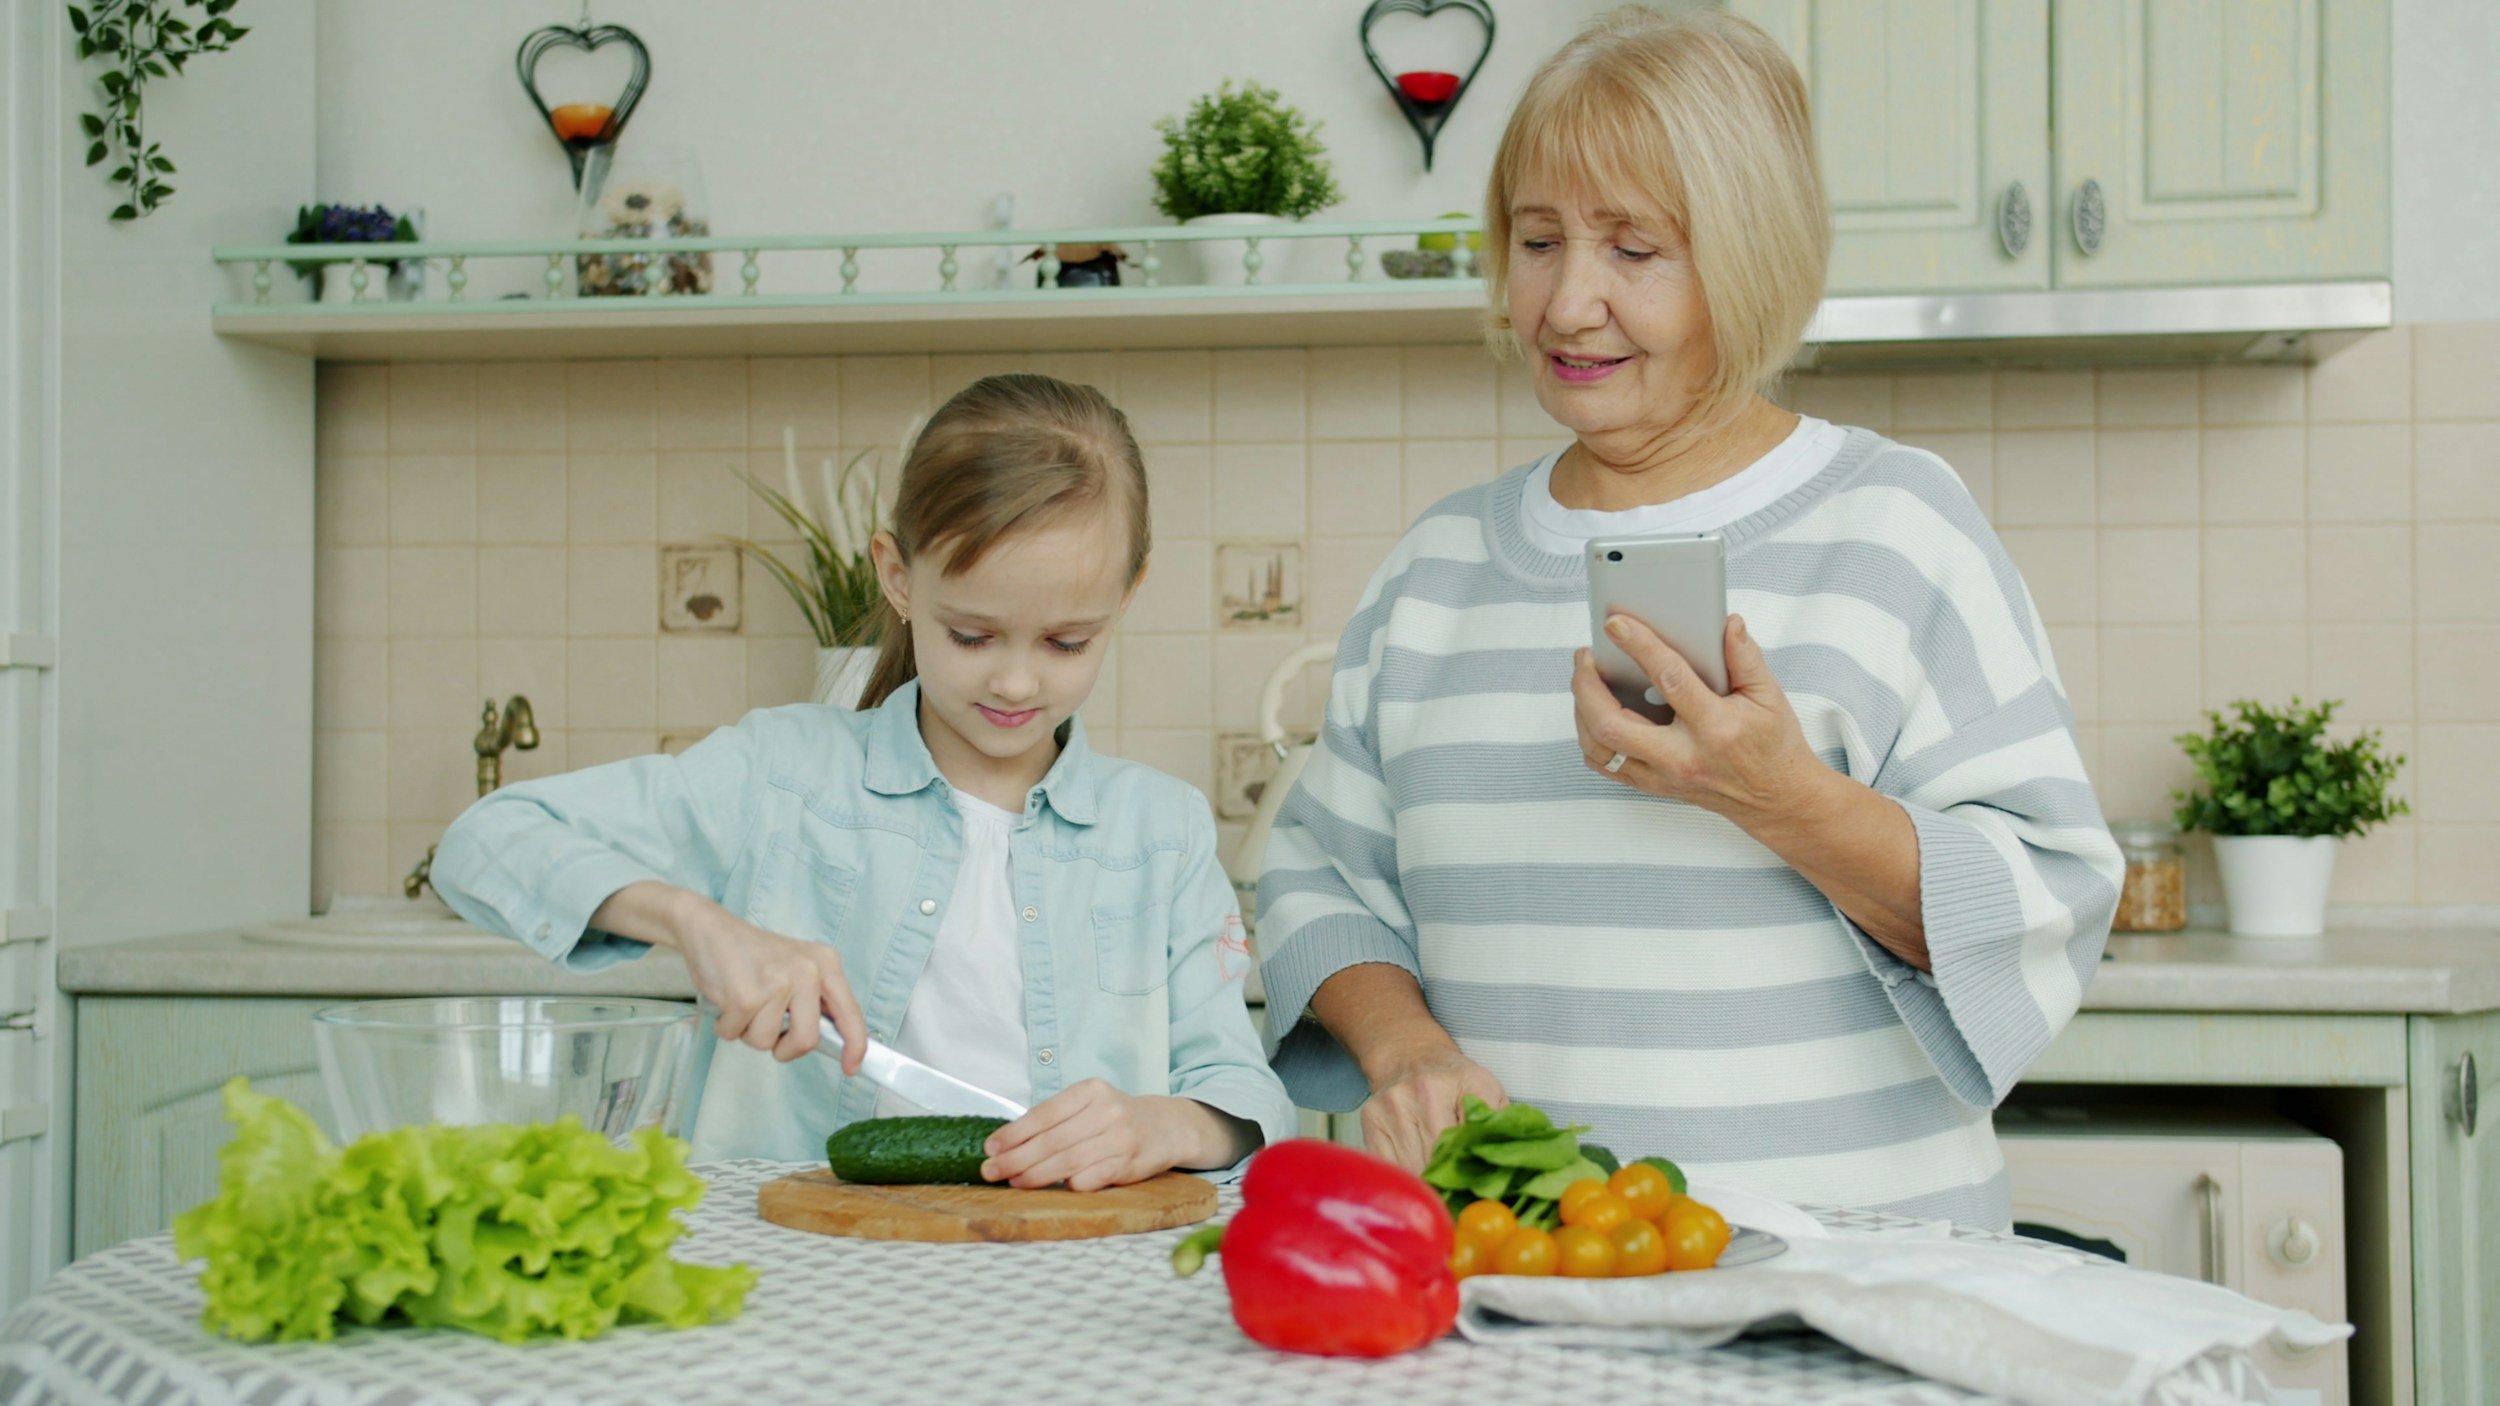
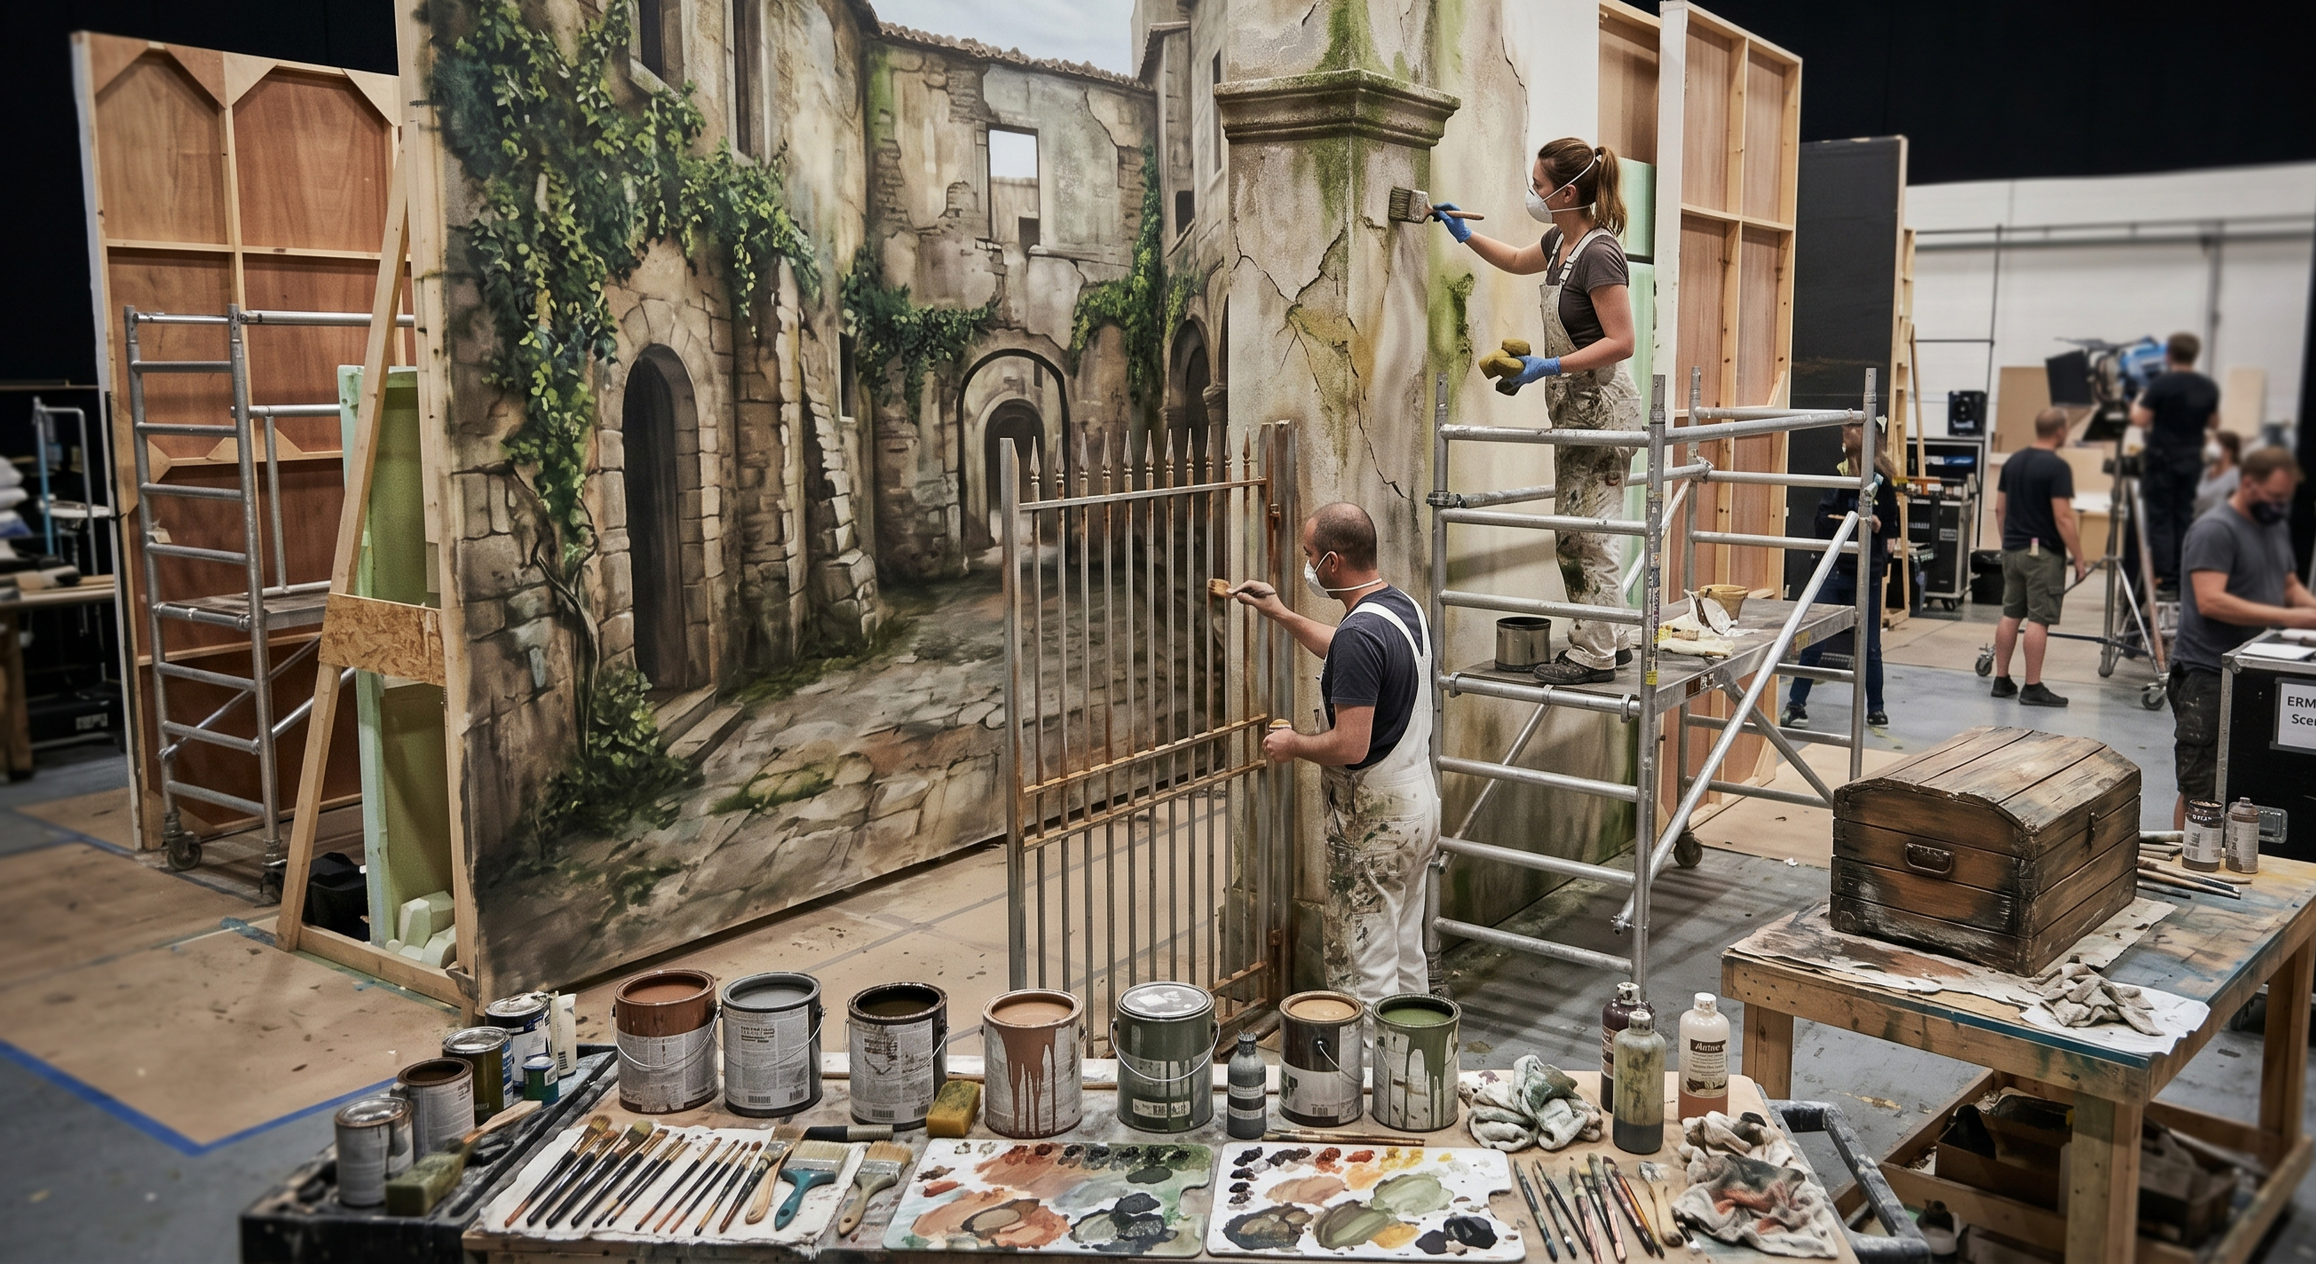
4. Directing for Visual Metaphor (B-Roll)
A compelling interview is rarely just the interview. While the subject speaks, the "Anatomy" of the scene includes the B-Roll that supports it.
The "Hands" Shot: During the interview, have a second camera (B-Cam) focus on the subject’s hands. Fidgeting, clenching, or relaxed palms often tell a more honest story than the face.
Environment as Character: If you are interviewing a mechanic, shoot the grease under their fingernails. If it's a scholar, shoot the marginalia in their books. These details ground the interview in a physical reality.
Summary: The Authentic Goal
The "Anatomy" of an interview isn't about manipulation; it’s about stewardship. You are being trusted with someone’s story. By mastering the lights, the lenses, and the silences, you ensure that their truth is captured with the dignity and clarity it deserves.
The ERMW Challenge: > For your next project, try to use Negative Fill and the 5-Second Silence rule. Notice how the "weight" of the conversation shifts.